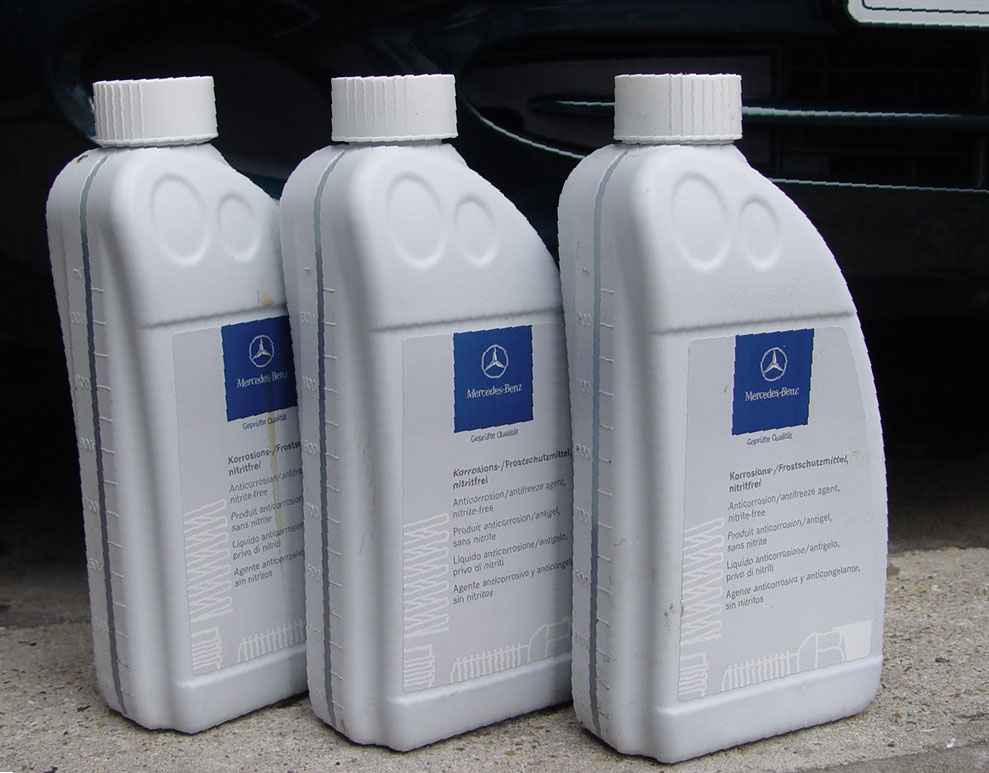
 Coolant fluid
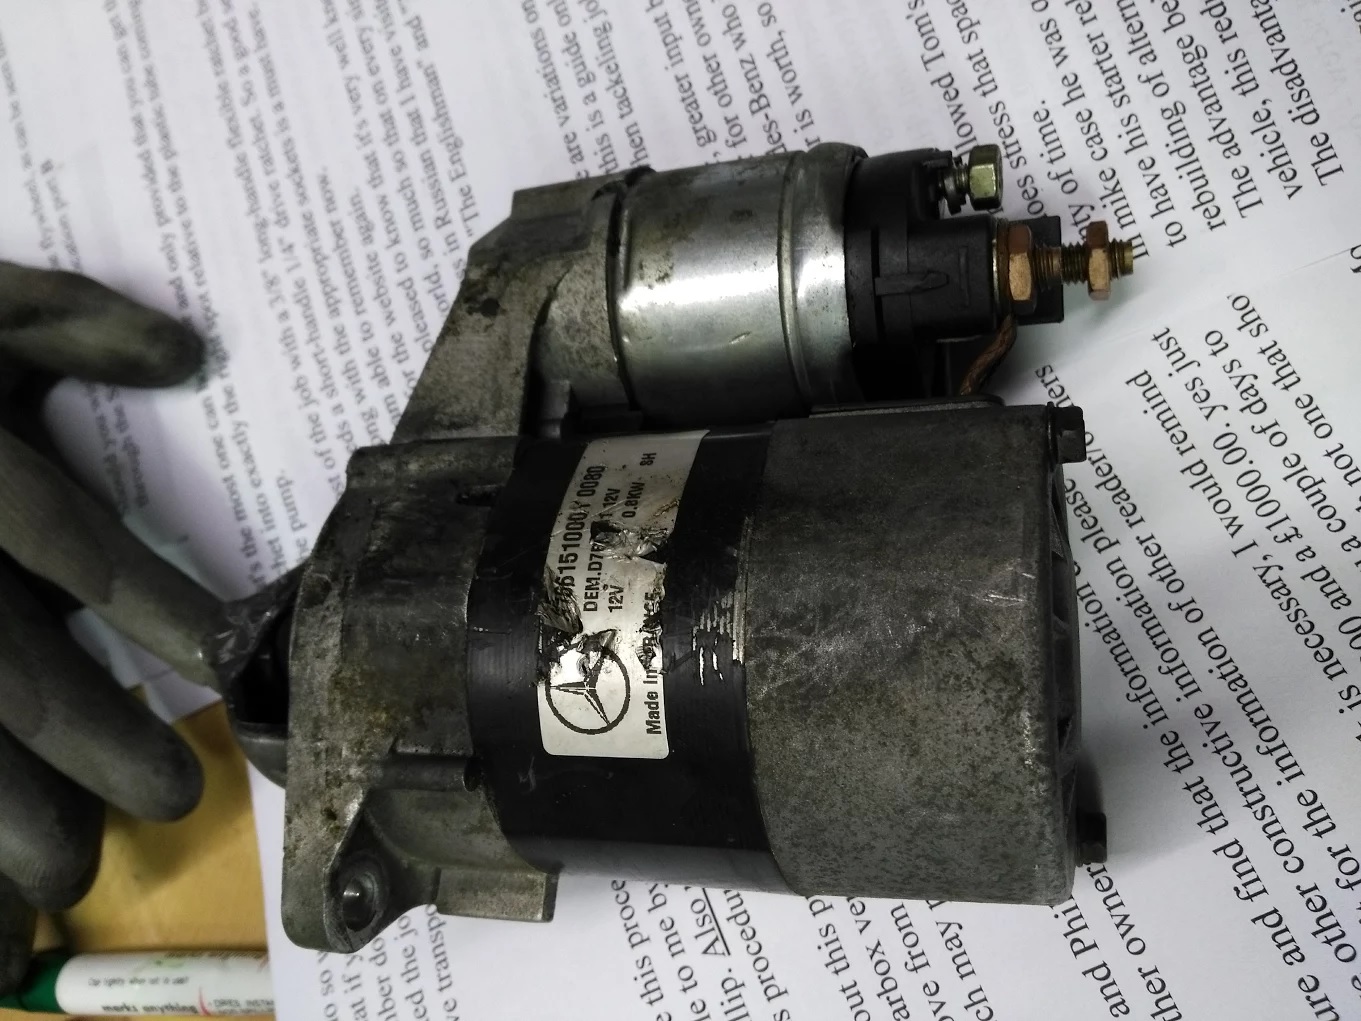
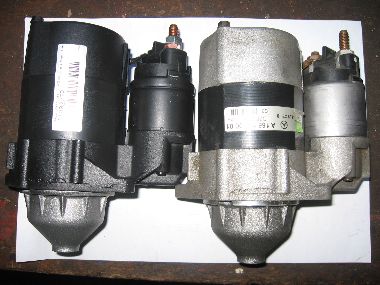 Starter motor compatible with your vehicle.
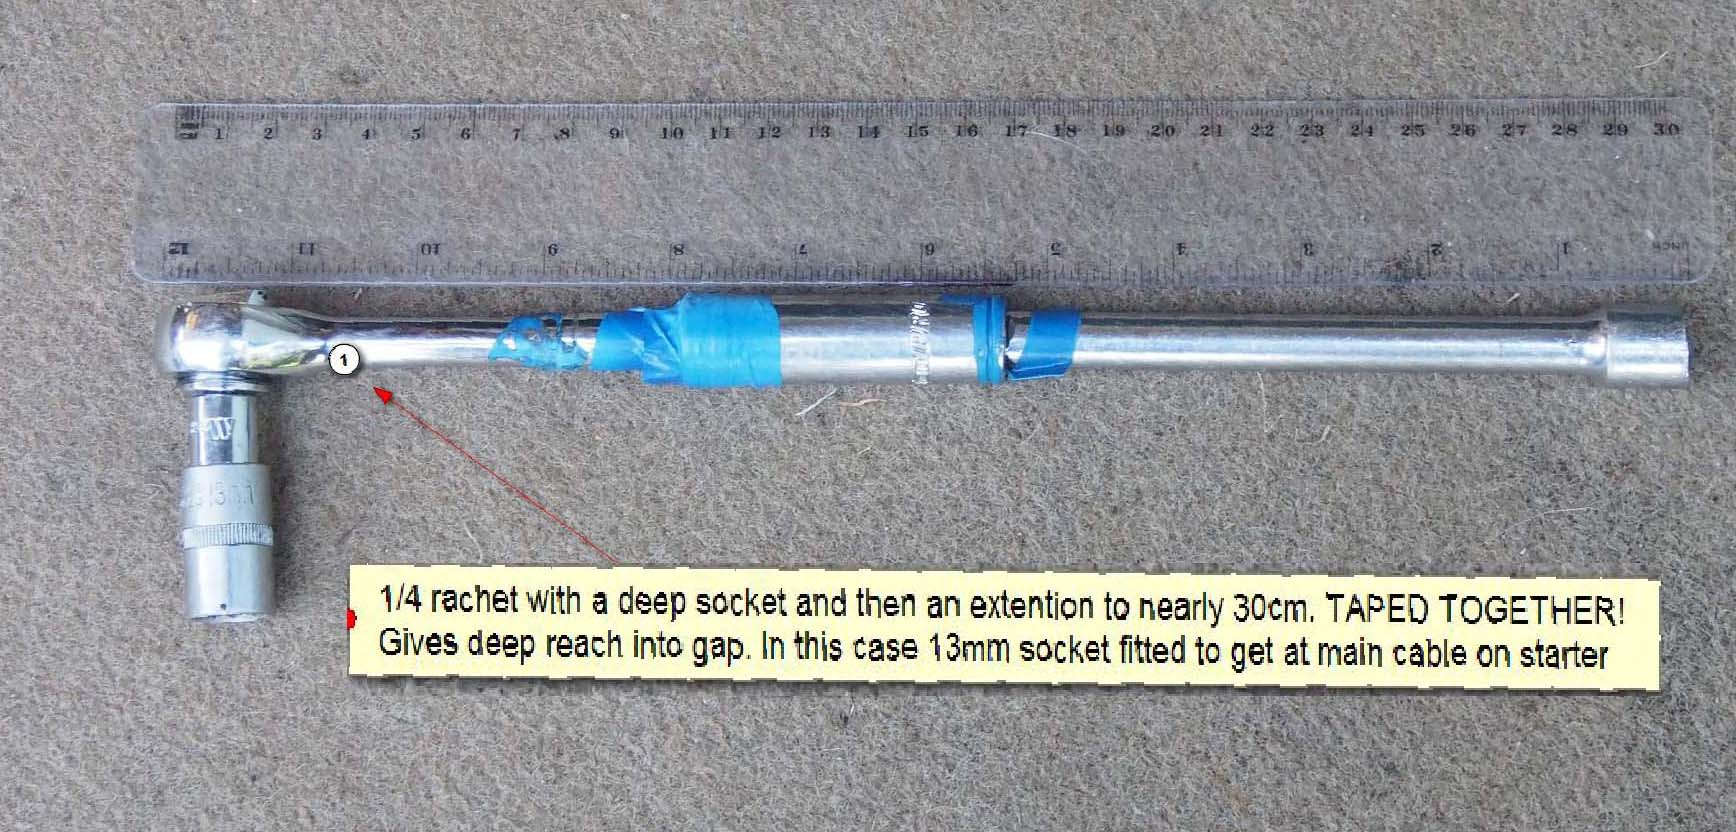
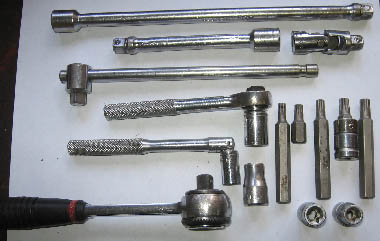 A good range of tools is required to do this job as well as reach some of the more difficult to access bolts and fixings.
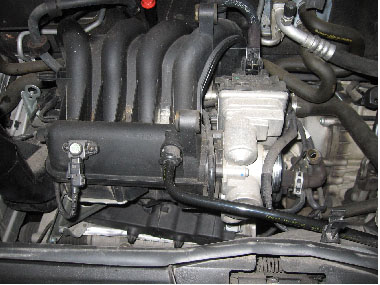 4. Remove air filter housing complete with filter rear of the
see page 16
4. Remove air filter housing complete with filter rear of the
see page 16 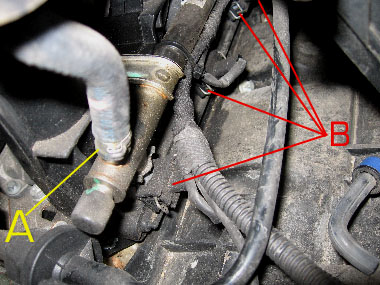 5. Disconnect electrical connections and fuel lines to injector rail B
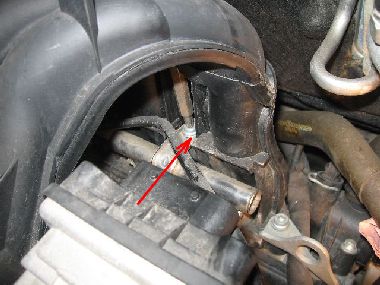
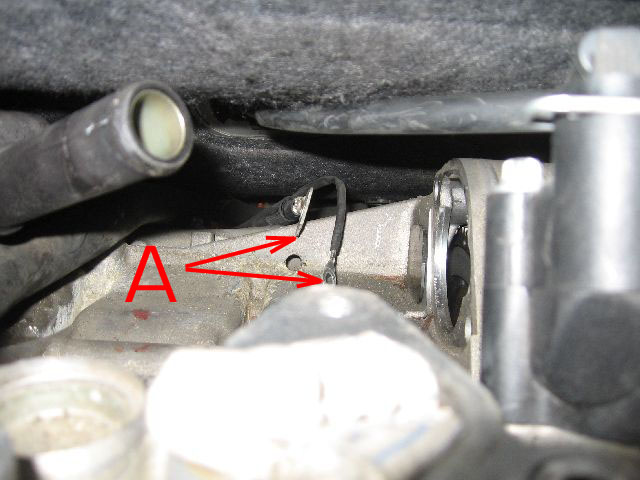
 6. Remove '' screws securing fuel rail remove, withdraw injectors.
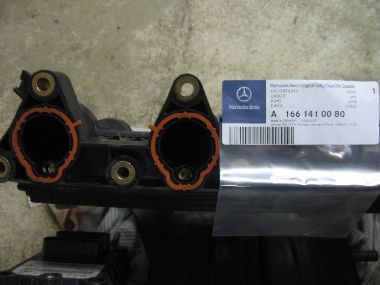
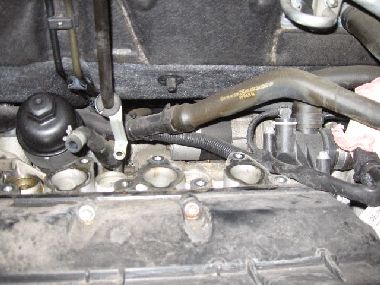 7. Remove Inlet manifold secured by bolts
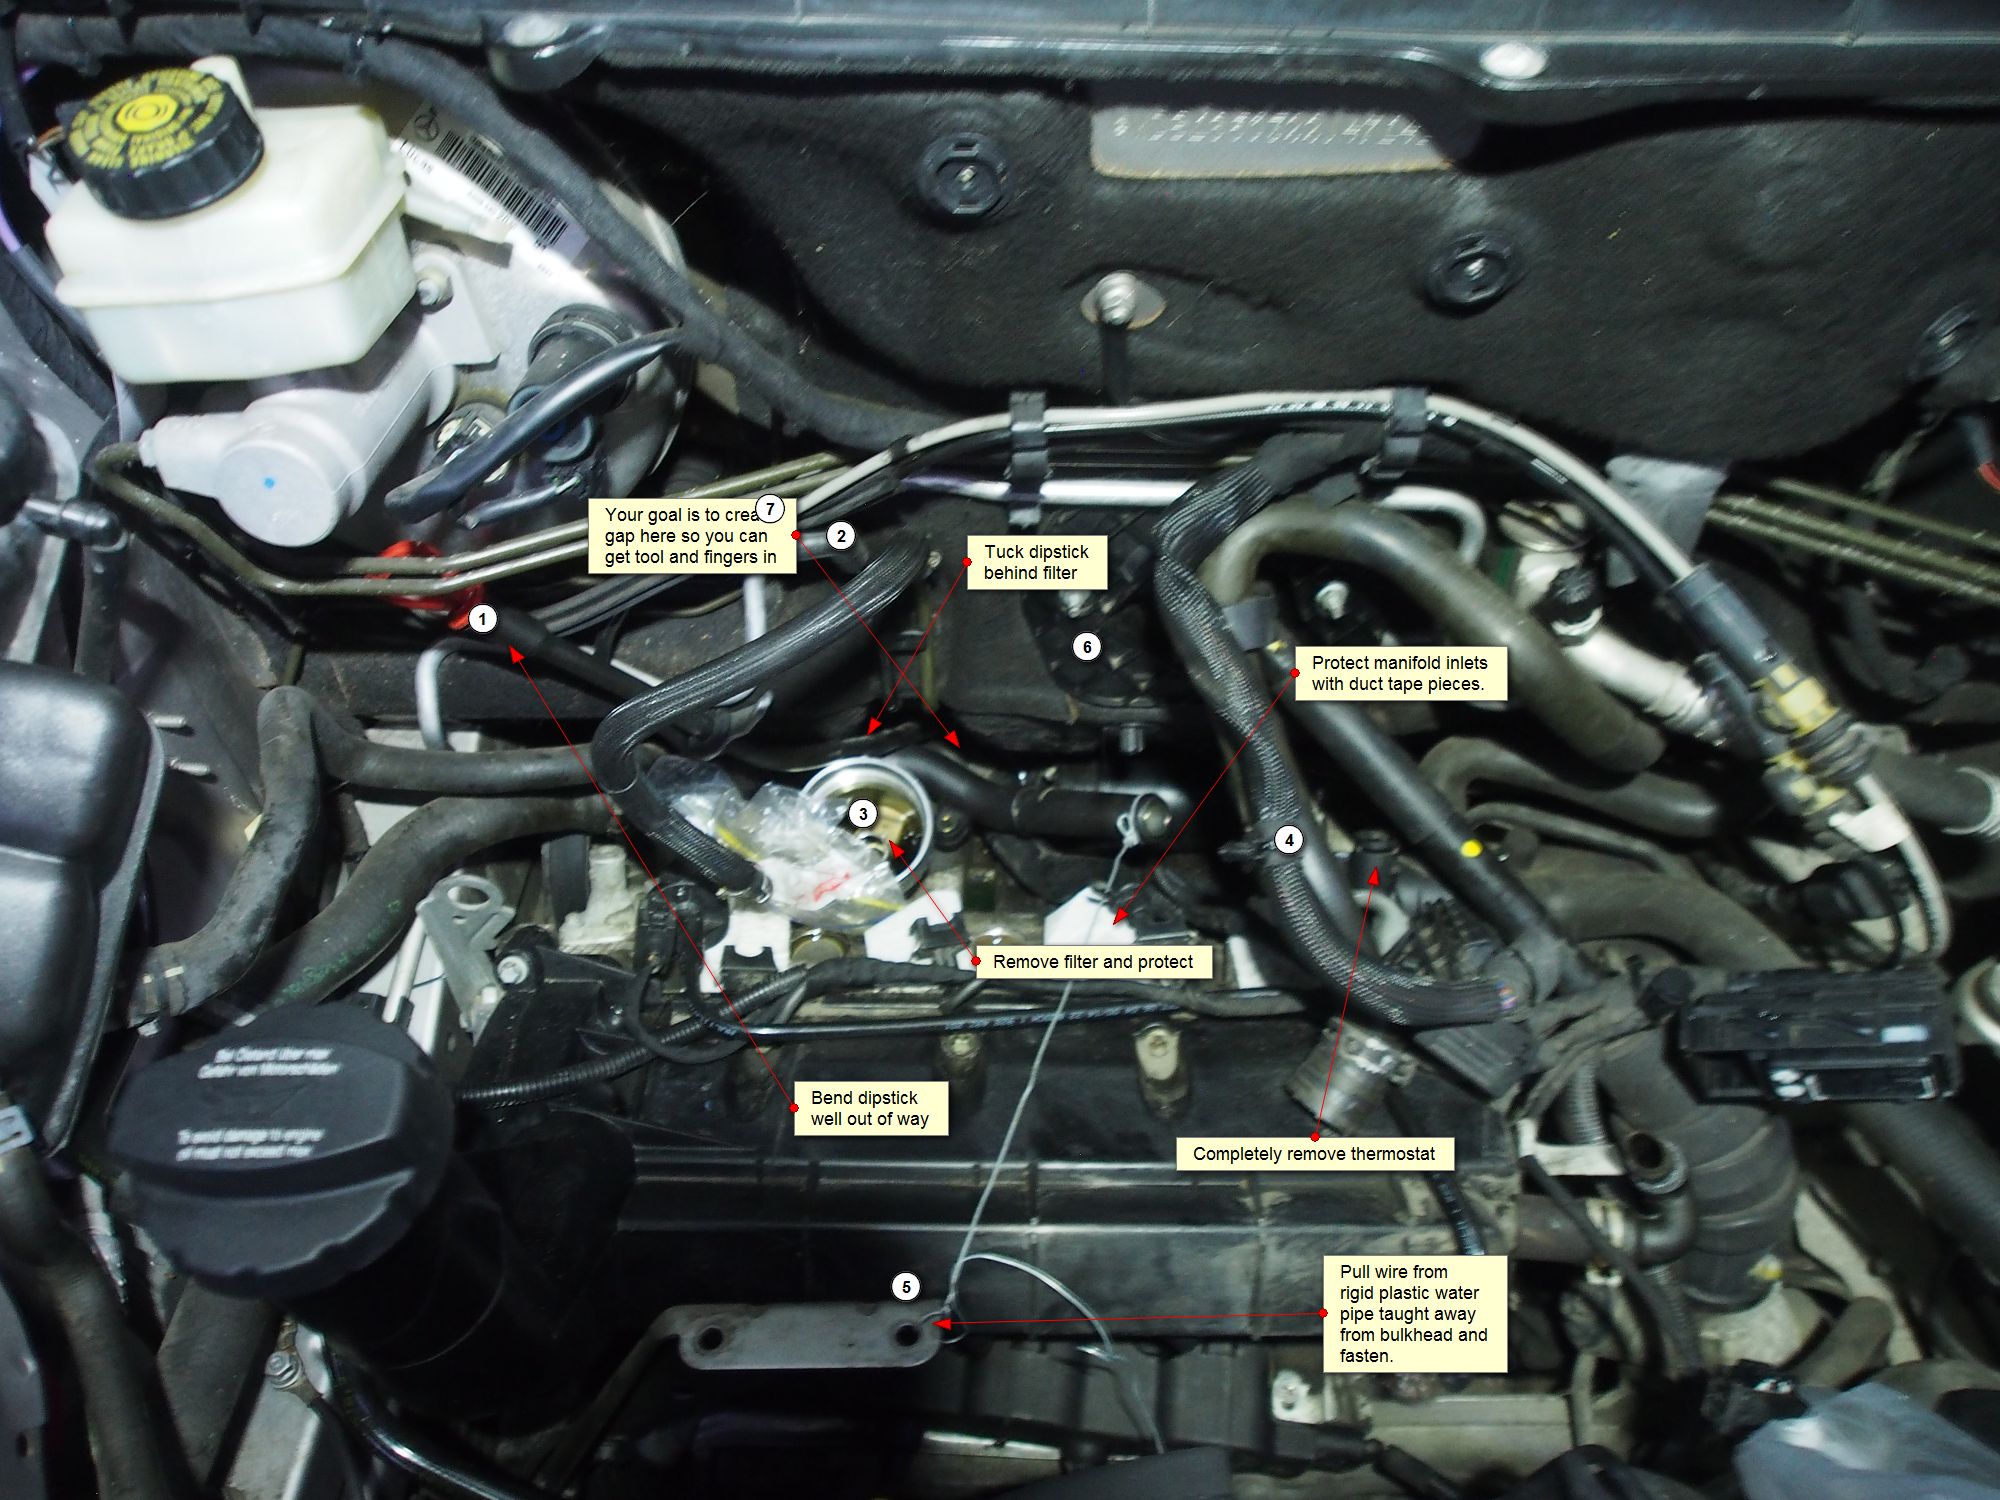
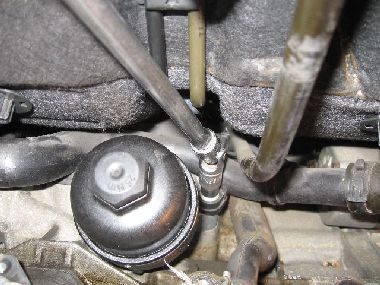
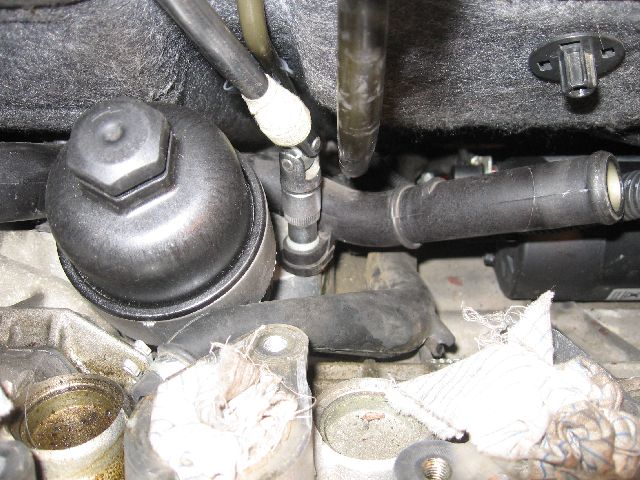 8. Remove the flexible coolant hose from the rigid pipe.
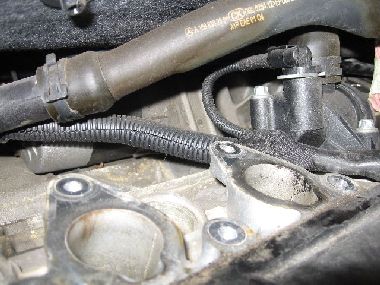
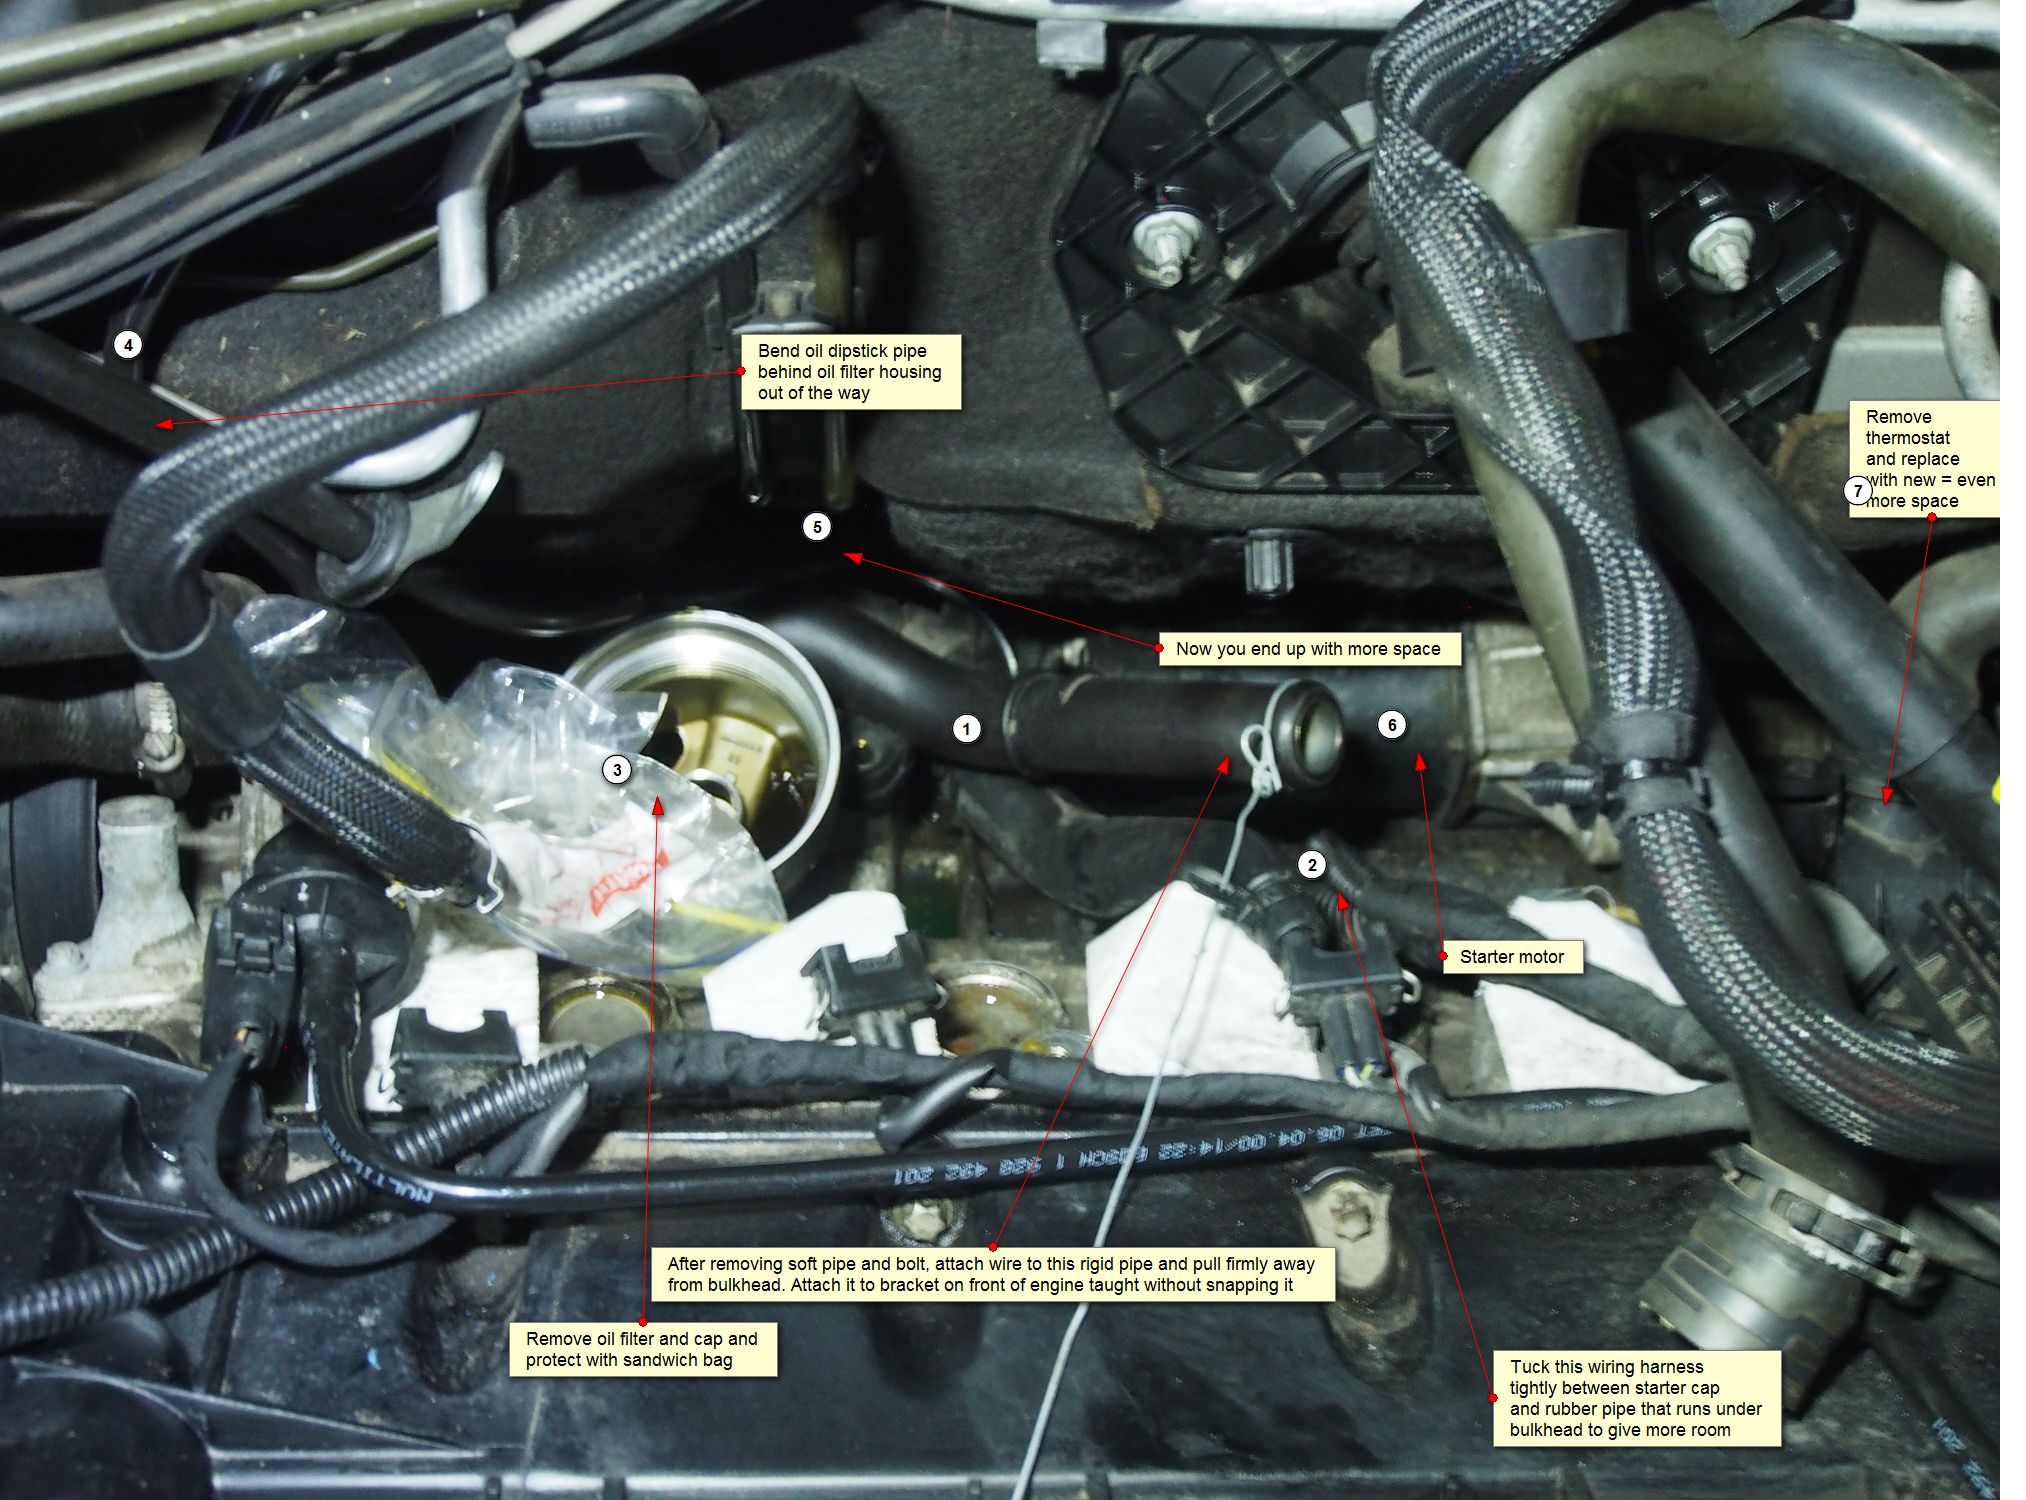
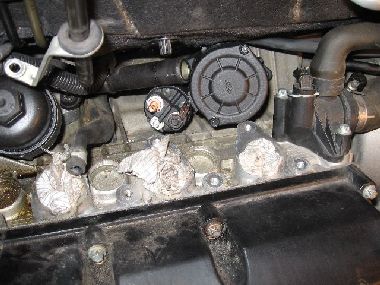
 9.Remove the temperature sensor from the thermostat Housing Locate the electrical loom C complete with fittings in such a way as to avoid damage while working.
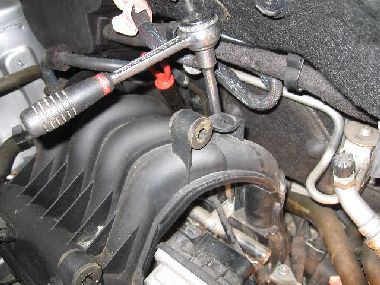
 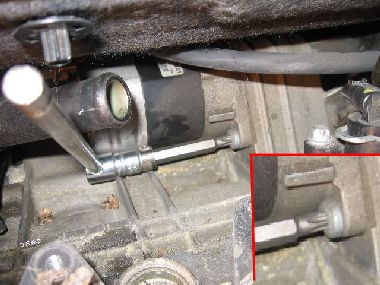 10. You should now be able to access the starter motor securing screw's,
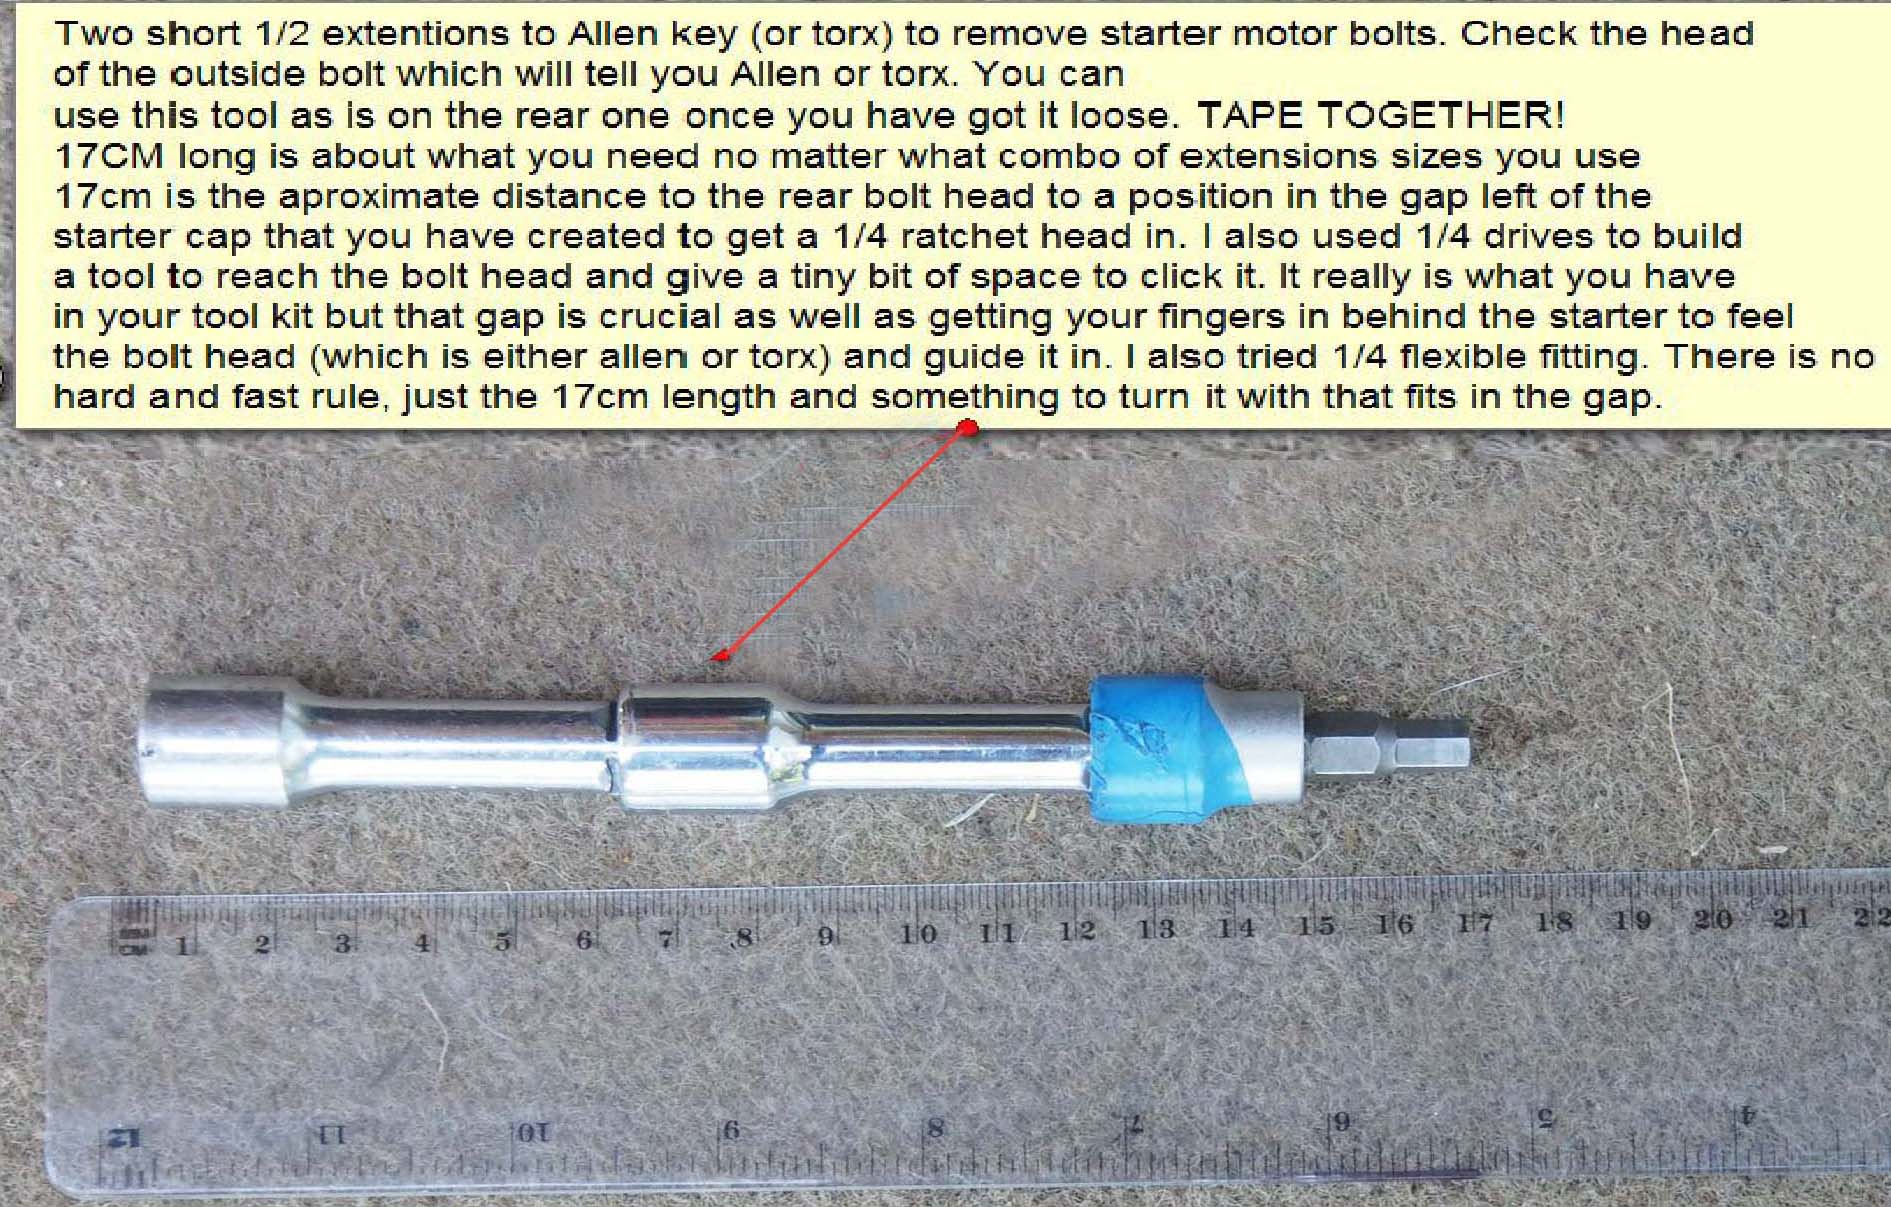
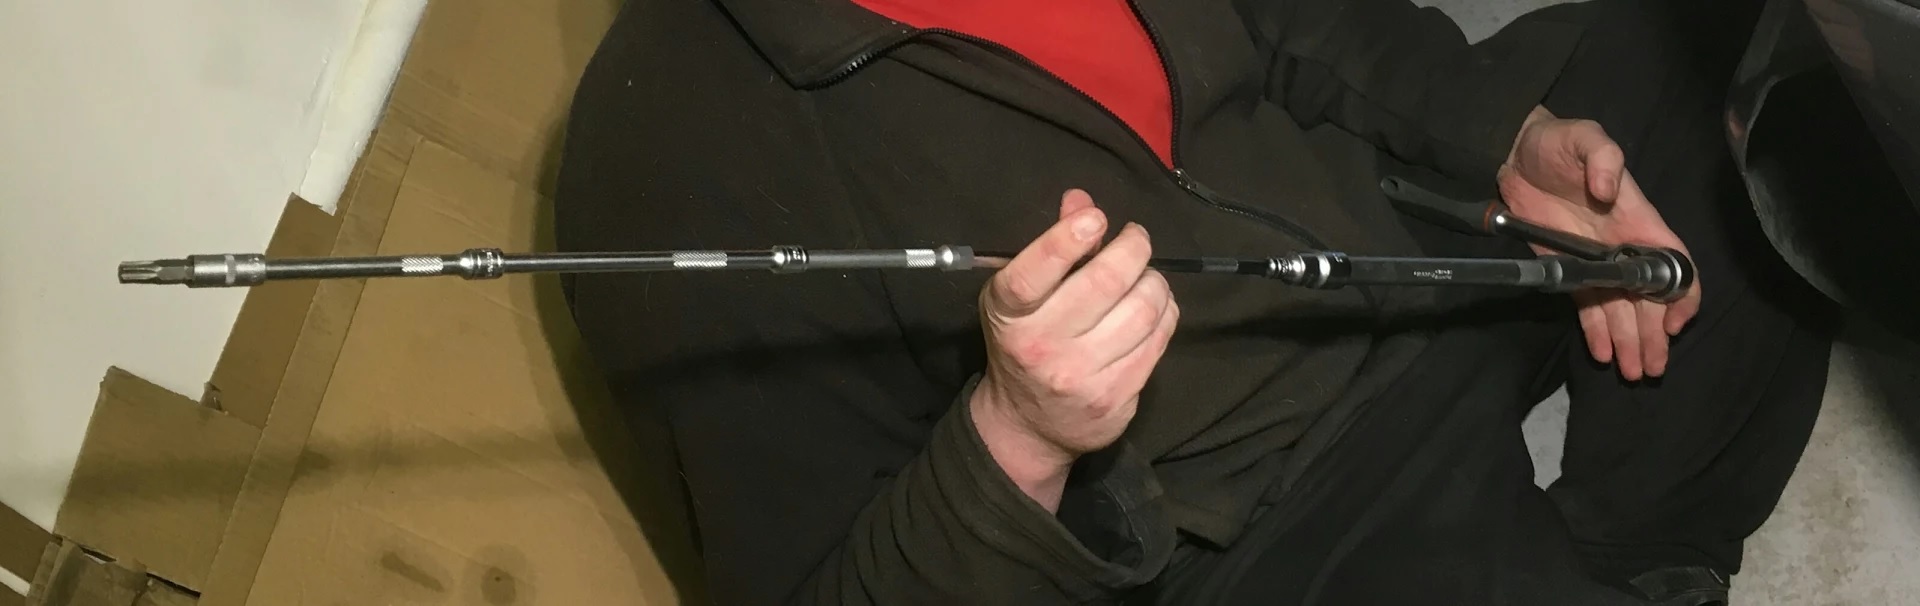
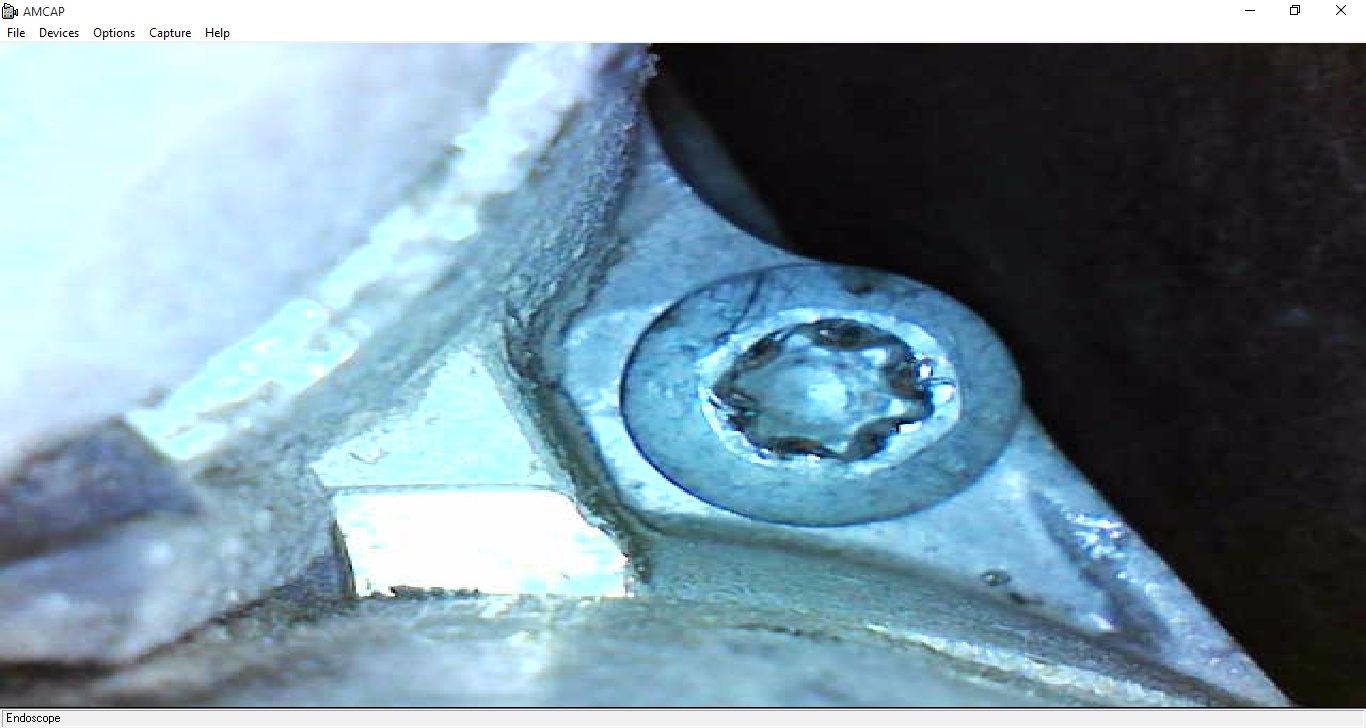
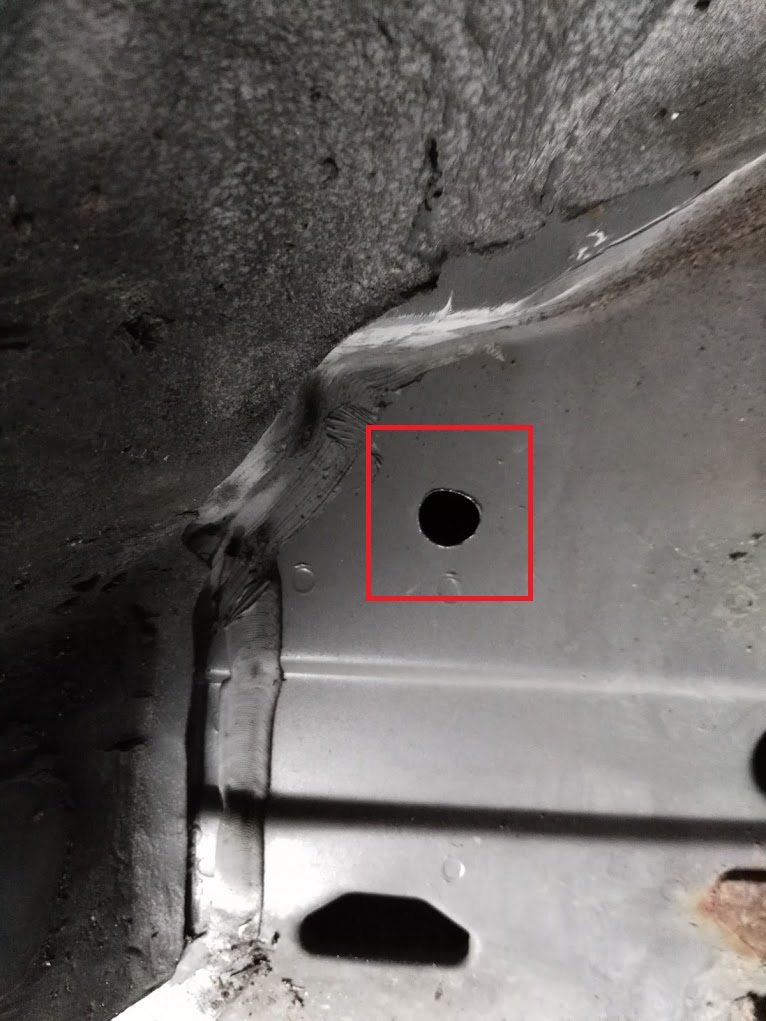
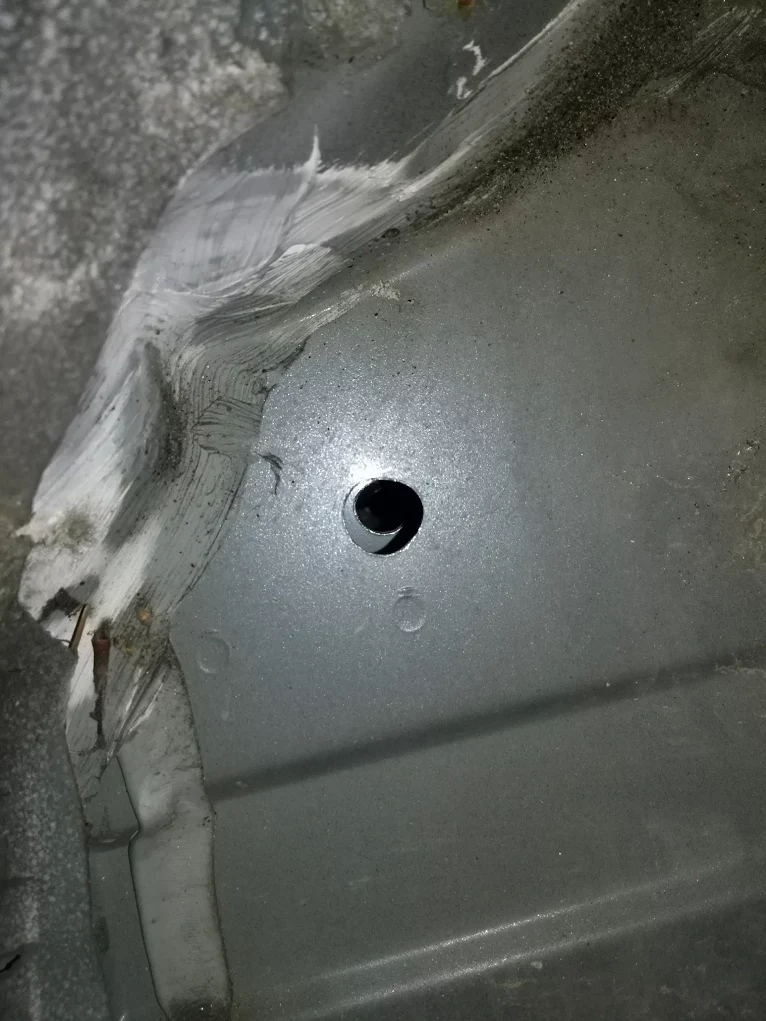 There are other holes located in inner wall however none of these line up and in not of them give access to the engine bay. Bolt note that on this car the fixing is Torz and not Allen as mentioned in other parts of this page
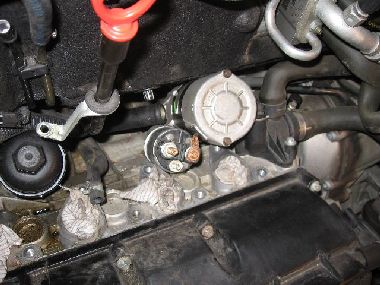
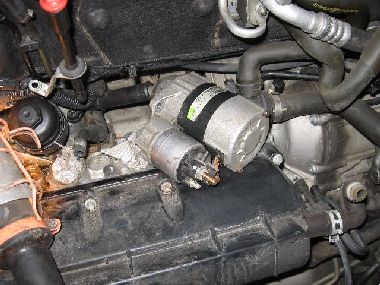 11 Disconnect the electrical connection to the starter and starter solenoid
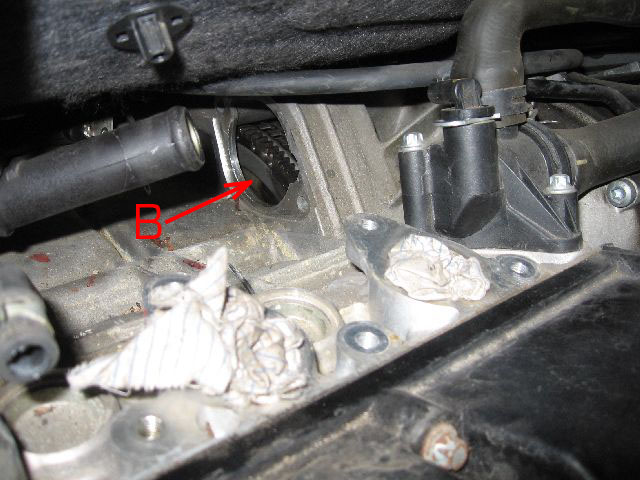
 On completion, re-install all components in reverse order