| 1. Where possible work on a level surface. |
| 2. Using the information on my page 4 ensure the wheels of the vehicle are chocked and that the jacks are secure. Please also read page 25 before starting this job. It will I hope clear up and questions or doubts you have before starting. |
| 3. Slacken the wheel nuts of the wheel on which you intend working. |
| 4. Jack up the wheel and remove. |
| 5. Remove the grease cap from the wheel hub ( tap the rim of the cap evenly until it is withdrawn)
|
| 6. Replace the wheel and hand tighten the wheel nuts, lower the vehicle to contact the ground. |
| 7. Undo the centre Hub nut and remove. (30mm) |
| 8. Ensure the wheel chocks are wedged tight on remaining wheels, fully release the hand brake |
| 9.Raise the vehicle and remove the wheel. |
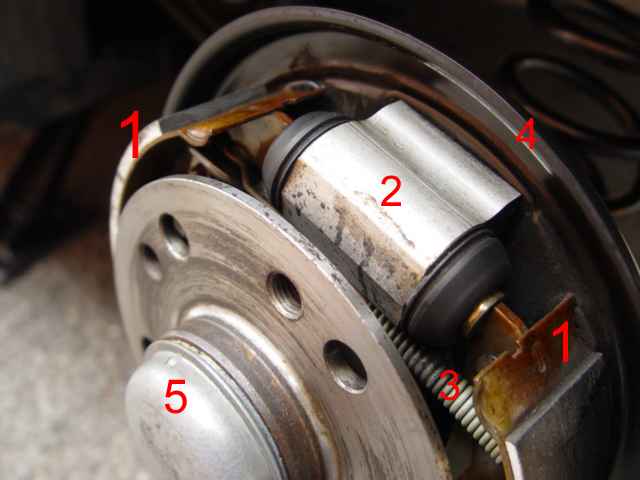
| 10. Remove the brake drum retaining screw. Remove the brake drum. |
| 11. Withdraw the wheel flange from the stub axle. |
| 12. Slacken the handbrake cable, forward of fuel tank, remove cable end from brake wheel assembly |
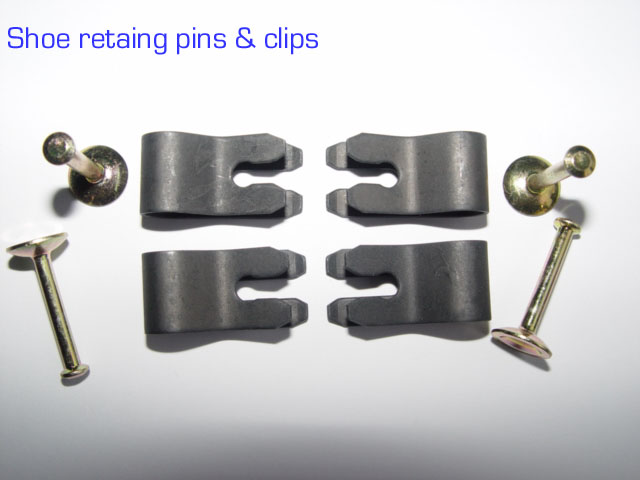
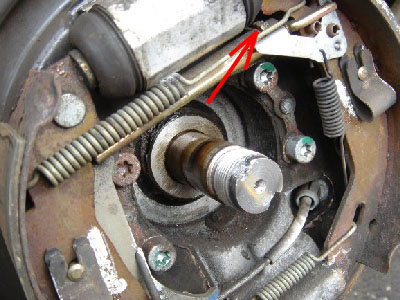
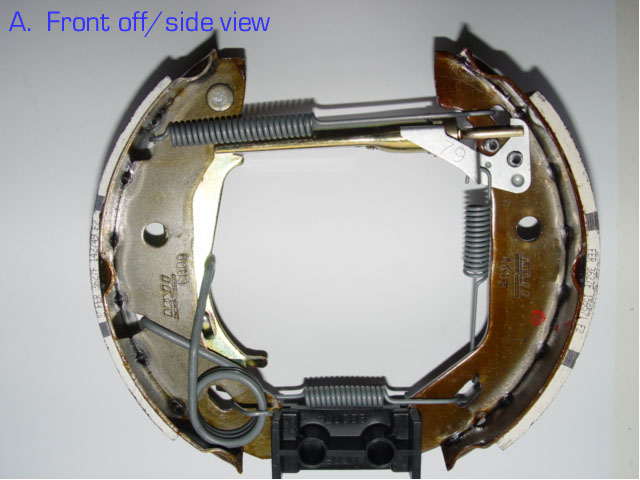
| 13. Remove the brake shoe retaining pins and clips. & remove old brake assembly from back plate.
|
| 14. Clean the brake shoe back plate as required.
|
| 15. Inspect the wheel cylinder for leaks. Replace as necessary.
|
| 16. Fit new brake assembly. Replace all other components in reverse order. Remember to refit handbrake cable and re-adjust |
| 17. Follow assembly procedures as outlined on page 26 ensuring the stub axle nut and wheel nuts are re-torqued. |
| 18. Ensure that the hand & foot brake are working correctly before road testing |
| 19. Enter rear brake service in your service record file |

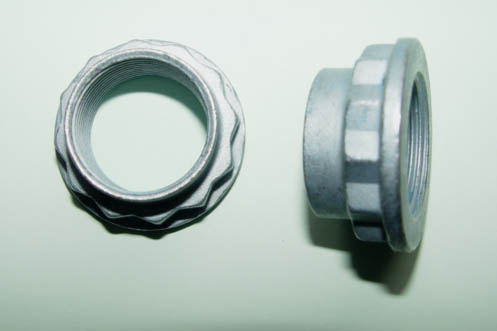 Part no, MA 001 990 38 50 Nut.
  When replacing with a New stub axle nut, it is only necessary to secure one tab..
 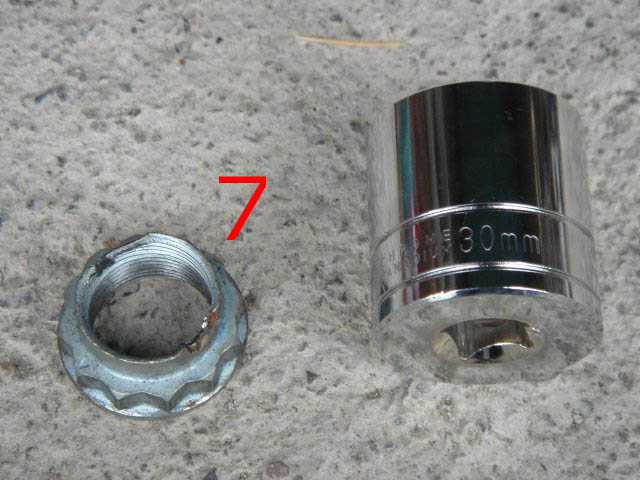 Note that you will require a 30mm socket to remove the nut 7 Shows the used nut which having been used twice is now scrap.
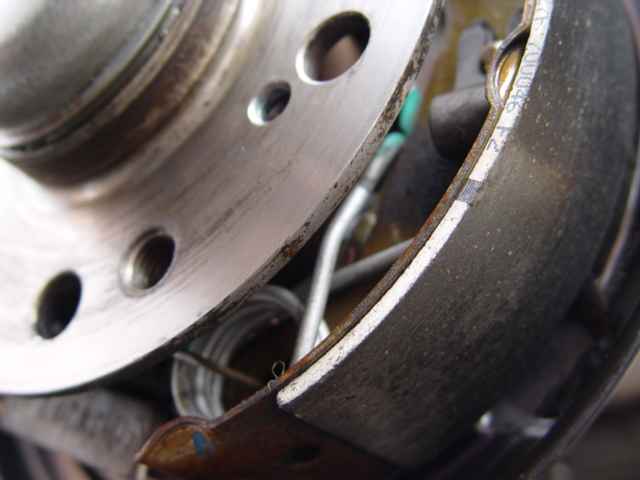
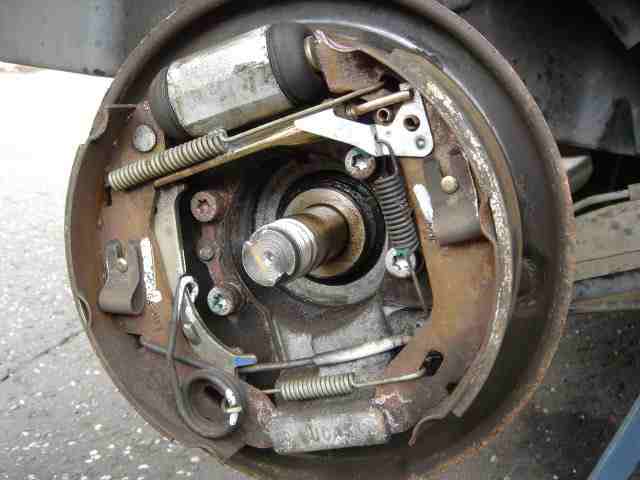
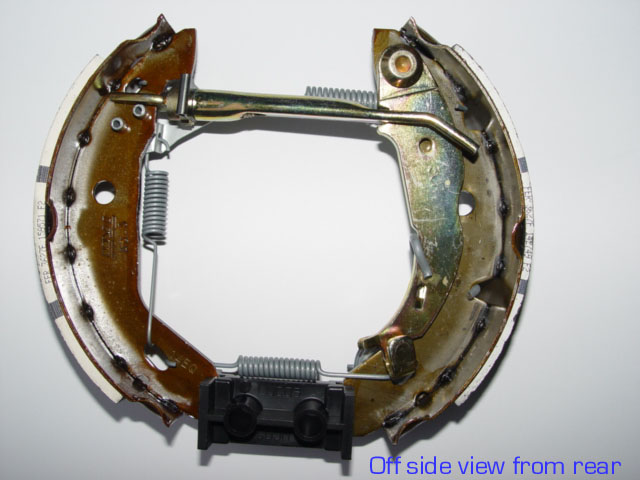 This is the same kit as seen from the back plate.