The text and photographs were forwarded to me by Leo (Leonardo Alcantara) One of my site visitors, and since receipt have made them available to several other owners with problems. As a result have now added some detailed material to his information and photo's and have decided, with Leo's approval to include them in the non specific pages of this site.
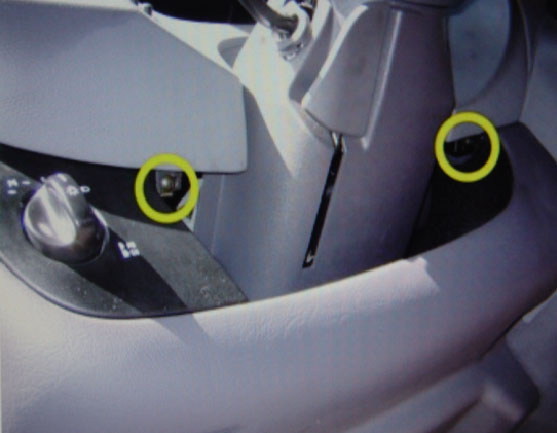
This are the two accessible screws below the dashboard.
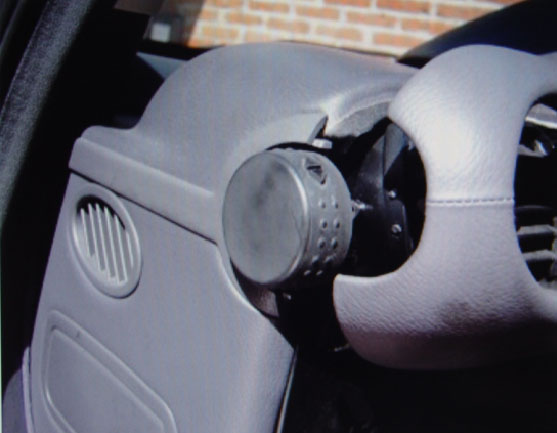
To remove the front panel, you have to pull it carefully, it has some 6 clips holding it in place.
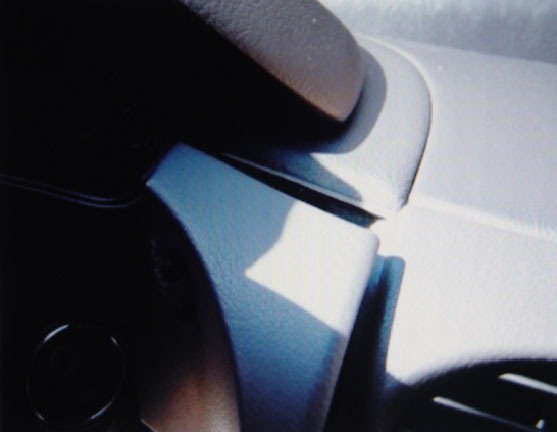
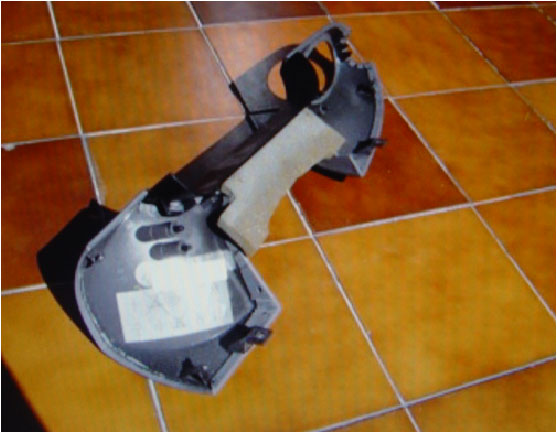
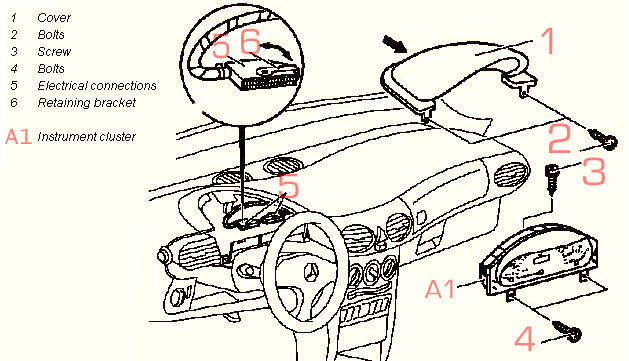
This is the front panel once outside. instrument panel
 .
.
This is the screw you have to take out in the left side of the
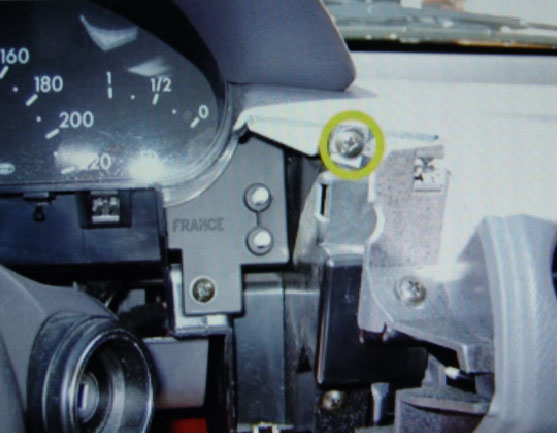
This is the screw on the right side of the instrument panel.
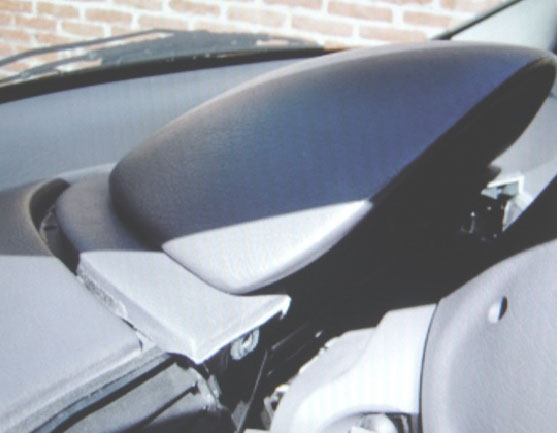
Once the screws are removed, you have to pull the instrument panel cover, pressing the back part slightly downward.
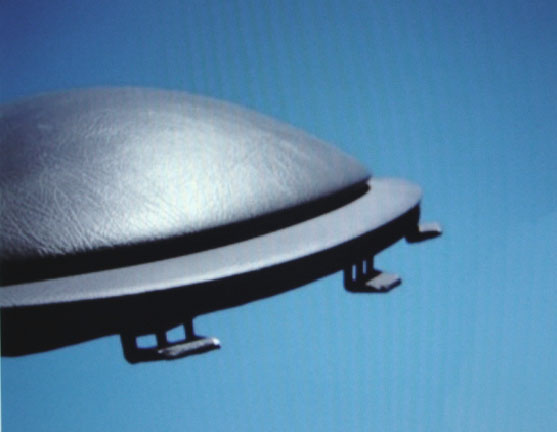
Is it an UFO? not really, it's a view of the clips in the back of the cover.
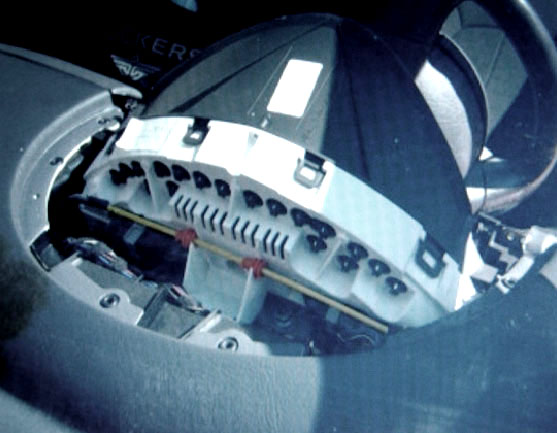
Once the cover is out, you have easy access to all the bulbs in the instrument panel (all the black spots)
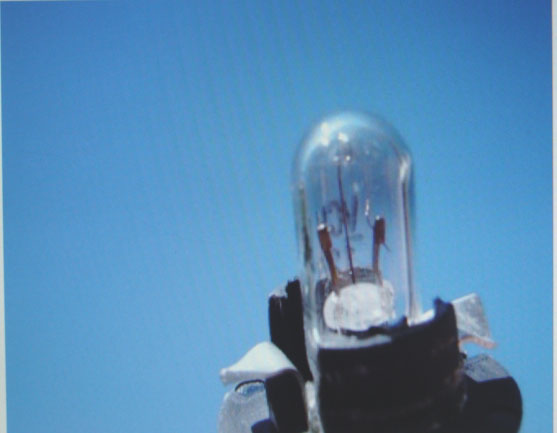
Except -Murphy's law- the one we're trying to change, the led backlight is down in the middle, in a difficult to reach position. And this is the guilty of the trouble, a new one costs around 0.30 US Dollers.
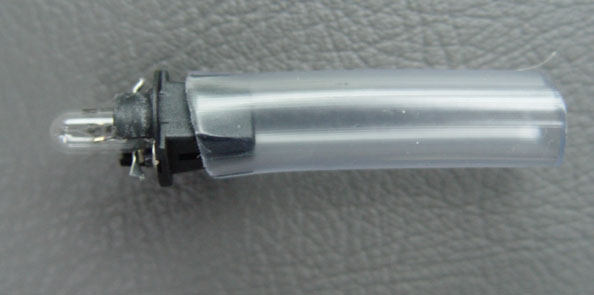
You have to grab the bulb and pull it out of the black base, insert the new one and reverse the whole process to finish the installation, all in all it took me around 2 hours (trip to the electrical store included) but if I had to do it again, I could do it in 10 minutes max.
I found that a piece of 1/2 polythene tube pushed over the bulb holder, removed the bulbs easily and you could put them back without problem albeit I haven't got so many bulbs as this model, Lofty
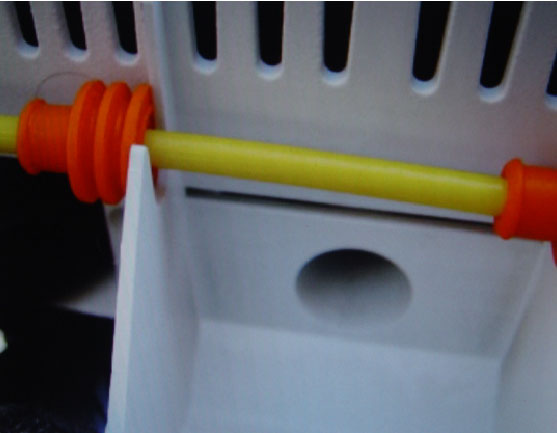
The RF antenna of the remote control receiver is a coaxial cable with removed shield so the inner conductor acts a RF antenna cut on 1/4 wave at frequency of 330MHz.
That is the frequency were the remote transmits the open/close digital signals to the car. It's that yellow cable inserted just behind the dashboard panel, here is your own picture just to clarify the item.Thanks to Sergio,of SVC global for this information. SVC Global.org
Just saw yesterday the description of the RF antenna of the remote control receiver described as temperature sensor.
In this instance the red holder should be fitted to allow the holder to fit either side of the plastic moulding
Replace all components in reverse order.
Hope this manual helps to reduce the learning curve for all the first-timers, Good luck!
Return to Dash and interior lighting
Back to Index,
Purchase DVD.
Please Make a Donation.

This are the two accessible screws below the dashboard.
To remove the front panel, you have to pull it carefully, it has some 6 clips holding it in place.
This is the front panel once outside. instrument panel
.This is the screw you have to take out in the left side of the
This is the screw on the right side of the instrument panel.
Once the screws are removed, you have to pull the instrument panel cover, pressing the back part slightly downward.
Is it an UFO? not really, it's a view of the clips in the back of the cover.
Once the cover is out, you have easy access to all the bulbs in the instrument panel (all the black spots)
Except -Murphy's law- the one we're trying to change, the led backlight is down in the middle, in a difficult to reach position. And this is the guilty of the trouble, a new one costs around 0.30 US Dollers.
You have to grab the bulb and pull it out of the black base, insert the new one and reverse the whole process to finish the installation, all in all it took me around 2 hours (trip to the electrical store included) but if I had to do it again, I could do it in 10 minutes max.
I found that a piece of 1/2 polythene tube pushed over the bulb holder, removed the bulbs easily and you could put them back without problem albeit I haven't got so many bulbs as this model, Lofty
The RF antenna of the remote control receiver is a coaxial cable with removed shield so the inner conductor acts a RF antenna cut on 1/4 wave at frequency of 330MHz.
That is the frequency were the remote transmits the open/close digital signals to the car. It's that yellow cable inserted just behind the dashboard panel, here is your own picture just to clarify the item.Thanks to Sergio,of SVC global for this information. SVC Global.org
Just saw yesterday the description of the RF antenna of the remote control receiver described as temperature sensor.
In this instance the red holder should be fitted to allow the holder to fit either side of the plastic moulding
Replace all components in reverse order.
Hope this manual helps to reduce the learning curve for all the first-timers, Good luck!
Return to Dash and interior lighting
Back to Index,
Purchase DVD.
Please Make a Donation.